新建本地和github仓库
安装git
检查是否已安装git
maxyjian@ubuntu:~$ git version
    version 2.17.1
若没有安装,使用如下命令安装
sudo apt-get install git git-core
用户配置
前提是已经注册github账号,具体注册过程就不用说了
git config –global user.name “你的Github用户名”
git config –global user.email “你的Github邮箱地址”
配置SSH Key
因为git是通过ssh的方式访问资源库,需要创建用于git访问github仓库用的公钥。
1、生成公钥
使用如下命令:
ssh-keygen -C ‘你的Github邮箱地址’ -t rsa
maxyjian@ubuntu:~$ ssh-keygen -C “maxyjian@gmail.com” -t rsa
Generating public/private rsa key pair.
Enter file in which to save the key (/home/maxyjian/.ssh/id_rsa):
Enter passphrase (empty for no passphrase):
Enter same passphrase again:
Your identification has been saved in /home/maxyjian/.ssh/id_rsa.
Your public key has been saved in /home/maxyjian/.ssh/id_rsa.pub.
The key fingerprint is:
SHA256:92I1aOtg9wm4ZYk1dhtyA8nN7IaimwVuXVg8gY5KlcI “maxyjian@gmail.com”
The key's randomart image is:
+---[RSA 2048]----+
|   .   . ..      |
|    E o .o *     |
|     o o  B +    |
|    . . .o *     |
|   . .. S @ X    |
|    .. + X @ =   |
|      + B X o    |
|     . = O + .   |
|      o . . o    |
+----[SHA256]-----+
maxyjian@ubuntu:~/.ssh$ gedit id_rsa.pub
可以指定密钥文件及密码,也可以不指定直接回车,然后打开刚创建的id_rsa.pub文件,复制其中所有内容。
2、把生成的公钥填写到Github中
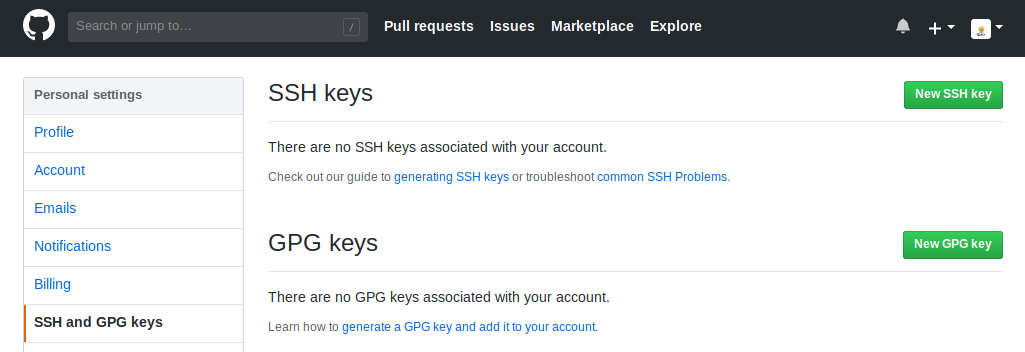
点击右上角你的头像settings–SSH and GPG keys ,进入如下界面:
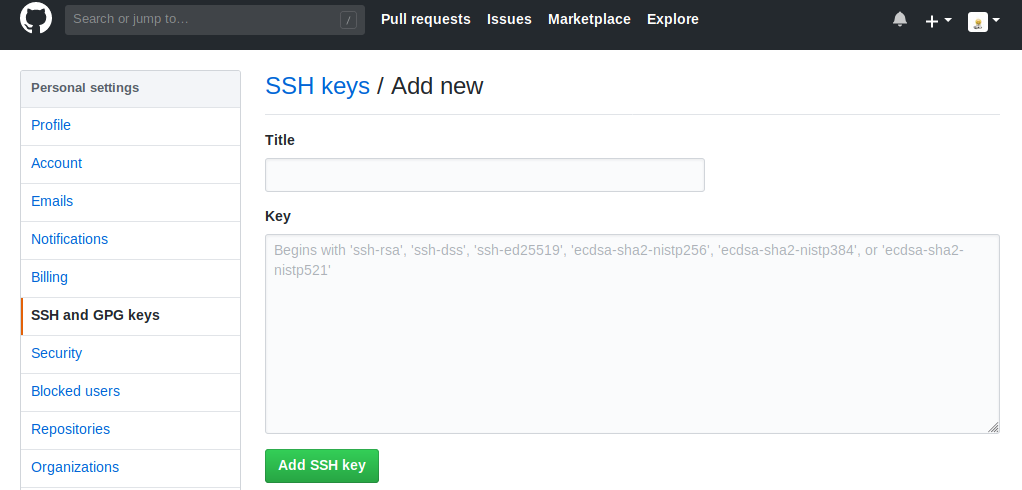
点击New SSH key如下,随便输入title,在key粘贴SSH key,然后Add SSH key。
3、进行SSH认证
maxyjian@ubuntu:~/.ssh$ ssh -T git@github.com
Hi maxyjian! You've successfully authenticated, but GitHub does not provide shell access.
4、创建版本库并初始化
maxyjian@ubuntu:~ mkdir testgit
maxyjian@ubuntu:~$ cd testgit/
maxyjian@ubuntu:~/learngit$ git init
初始化空的 Git 仓库位于 /home/maxyjian/testgit/.git/
5、创建远程仓库
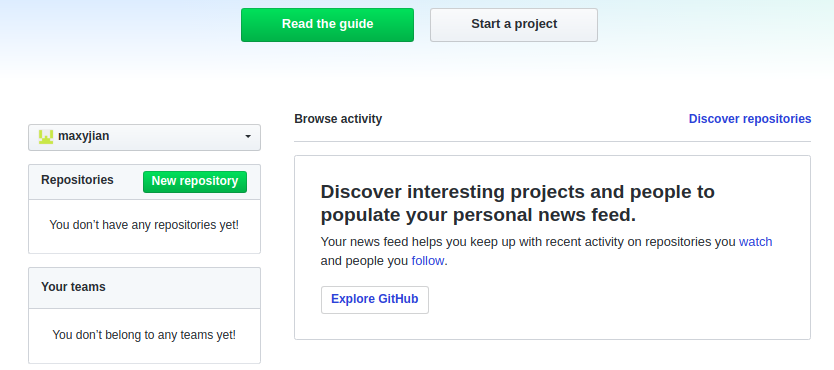
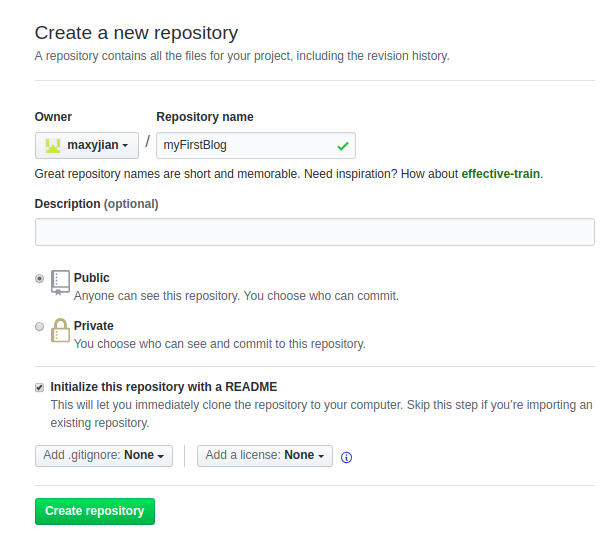
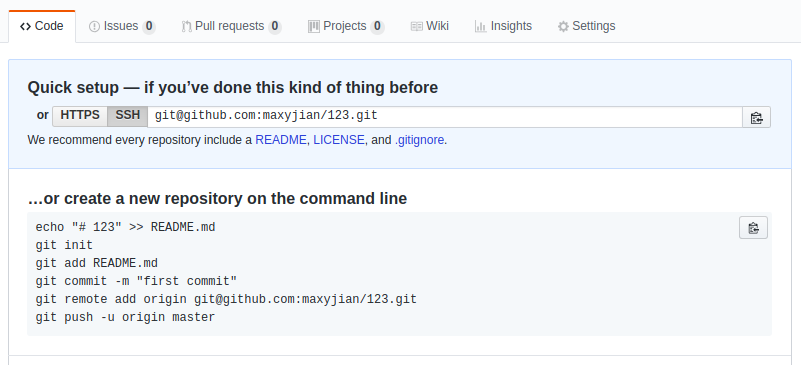
在github上托管自己的代码须先去github创建一个repository,如图,点击New repository。
输入repository name,点击creat repository。
进入到repository界面,记住git和http地址。
下面为本地git添加远程仓库:
git remote add origin git@github.com:xxx.git #此处替换为自己的git地址
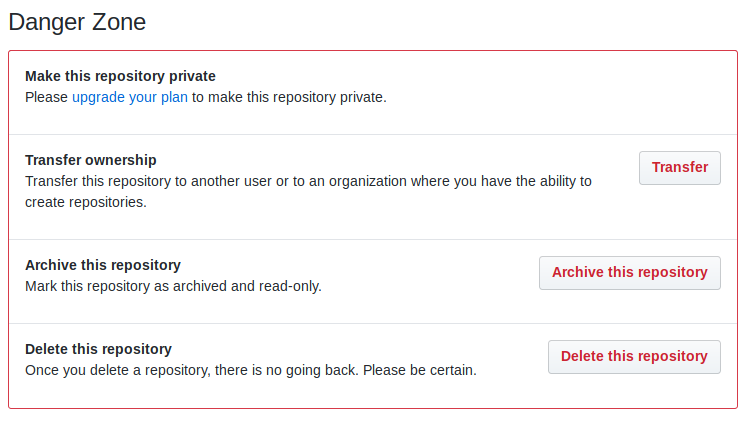
若要删除这个repository,进入settings,翻到最下面,选择Delete this repository,如图:
6、上传本地文件
现在我们上传一个readme.txt文件:
gedit readme.txt
git add readme.txt
git commit -m "wrote a readme file"
git push origin master
再次进入你刚刚创建的repository,就能看见你上传的readme.txt文件了。若要更换地址,需要先删除,再重新添加。删除命令:
git remote rm origin
使用jekyll搭建博客
安装jekyll
sudo apt install build-essential
sudo apt install ruby-full
sudo apt install rubygems
which gem     //查看gem的安装位置,正常显示“/usr/bin/gem”

sudo gem  update   --system     //升级rubygems到最新版本
sudo apt install curl
curl -sL https://deb.nodesource.com/setup_6.x | sudo -E bash -
sudo apt-get install -y nodejs
sudo gem install jekyll
jekyll   --version           //查看jekyll的版本
创建博客代码
输入如下命令:
jekyll new blog
提示:
Your user account isn't allowed to install to the system RubyGems.
You can cancel this installation and run:
      bundle install --path vendor/bundle
  to install the gems into ./vendor/bundle/, or you can enter your password
  and install the bundled gems to RubyGems using sudo.
输入系统用户密码即可。博客内容在_post文件夹中,一定要以日期为开头来命名,文件使用markdown文件格式,默认采用kramdown解析器,具体语法不作介绍。使用命令jekyll server可进入本地服务,在本地浏览。
cd blog
jekyll server
Configuration file: /home/maxyjian/jekyll/blog/_config.yml
            Source: /home/maxyjian/jekyll/blog
       Destination: /home/maxyjian/jekyll/blog/_site
 Incremental build: disabled. Enable with --incremental
      Generating...
                    done in 0.843 seconds.
 Auto-regeneration: enabled for '/home/maxyjian/jekyll/blog'
    Server address: http://127.0.0.1:4000/
  Server running... press ctrl-c to stop.
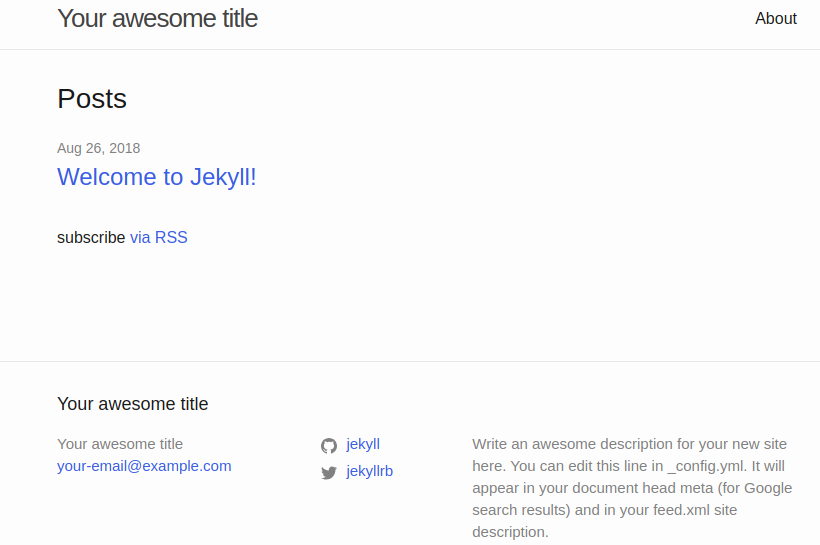
使用浏览器进入http://localhost:4000/ 可在本地查看博客,如下图。
如果不想自己去写,可以参考别人的博客源码或者下载一个主题http://jekyllthemes.org/ ,修改其中的_config.yml进行配置,推荐一个主题:
http://jekyllthemes.org/themes/jekyll-theme-h2o/
托管博客到github
先把源码提交到本地仓库,再push到github上,命令如下:
git add *
git commit -m "test theme"
git push origin master
如里有报下面的错误:
To git@git.oschina.net:yangzhi/hello.git
 ! [rejected]        master -> master (fetch first)
error: failed to push some refs to 'git@git.oschina.net:yangzhi/hello.git'
hint: Updates were rejected because the remote contains work that you do
hint: not have locally. This is usually caused by another repository pushin
hint: to the same ref. You may want to first merge the remote changes (e.g.
hint: 'git pull') before pushing again.
hint: See the 'Note about fast-forwards' in 'git push --help' for details.
输入下面这条指令,强制将本地的修改覆盖远程仓库的版本(不建议使用):
git push -f
上传到github之后就可以使用repository的http地址访问你的博客了。
参考博客:
https://blog.csdn.net/u012168038/article/details/77715439
https://blog.csdn.net/shursulei/article/details/73017668
https://www.cnblogs.com/litifeng/p/6337614.html